
For those who might be interested, I invite you to walk with me through the tedious process of getting a new prosthetic arm. I’m journaling the steps and my experiences along the way. You can interact with me by sharing thoughts and comments, if you wish.
I know my life motto is “Never Say I Can’t,” but I’m going to open up and be totally honest with you right now. There are two things I can’t do. First, I can’t clap. I wish I could clap. I can put my hands together and pretend to clap with others in an audience, but it doesn’t make a sound. Sometimes I clap my right hand on my leg or borrow a family member’s hand to clap against. And second, I can’t scratch my right arm. Rubbing up against a door jamb works pretty well, or directing my husband where to scratch. But thanks to prosthetics, I can do everything else.
On 5/30/16, Fourroux Prosthetics called to tell me my body parts had arrived. Normally shipment doesn’t take a month, but a merger between two major prosthetics manufacturers (Hosmer and Fillauer) slowed the delivery.
On 6/8/16, I met with Adan (Prosthetist) and Caitlin (Prosthetic Resident) to design my new arm. Eli (Intern) and Brad (Fabrication Manager) were also on hand to help. (These are the people I am referring to throughout this post when I say “they.”) It was a long seven-hour appointment, but it was the best day I’ve ever experienced in a prosthetics facility. They allowed me to hang out in the lab and watch the entire process! I’ve worn a prosthesis for 54 years and this is the first time I’ve gotten to see how one is made.
UPPER ARM:
- Adan made a plaster cast of my upper left arm.

- They poured plaster in it to create a mold.


- They heated a heavy plastic sheet in an oven and laid it over the mold to create the test socket.


- Once cooled, Eli removed the plaster mold from inside the test socket.

- Adan worked with me to get the test socket to fit just right. He heated problem spots with a propane torch to make them flexible. Then he reshaped them with his hands. He cooled the spots with an air compressor before having me retry the test socket. They cut back areas of the test socket from under my arm and from the “wings” on the top front and top back until it was comfortable. They flared out the edges to prevent skin contact with blunt edges. This tweaking endeavor took approximately twenty tries. This part of the arm design is stressful for me because I have to decide when it is just right. Then it gets laminated and I am locked in forever! 🙂


- Caitlin made my harness and they attached it to the test socket.


LOWER ARM:
- To make the lower arm, Adan used a 3D scanner to do a 3D scan of my right lower arm, creating a computer 3D image. He mirrored it for an exact left arm pattern.

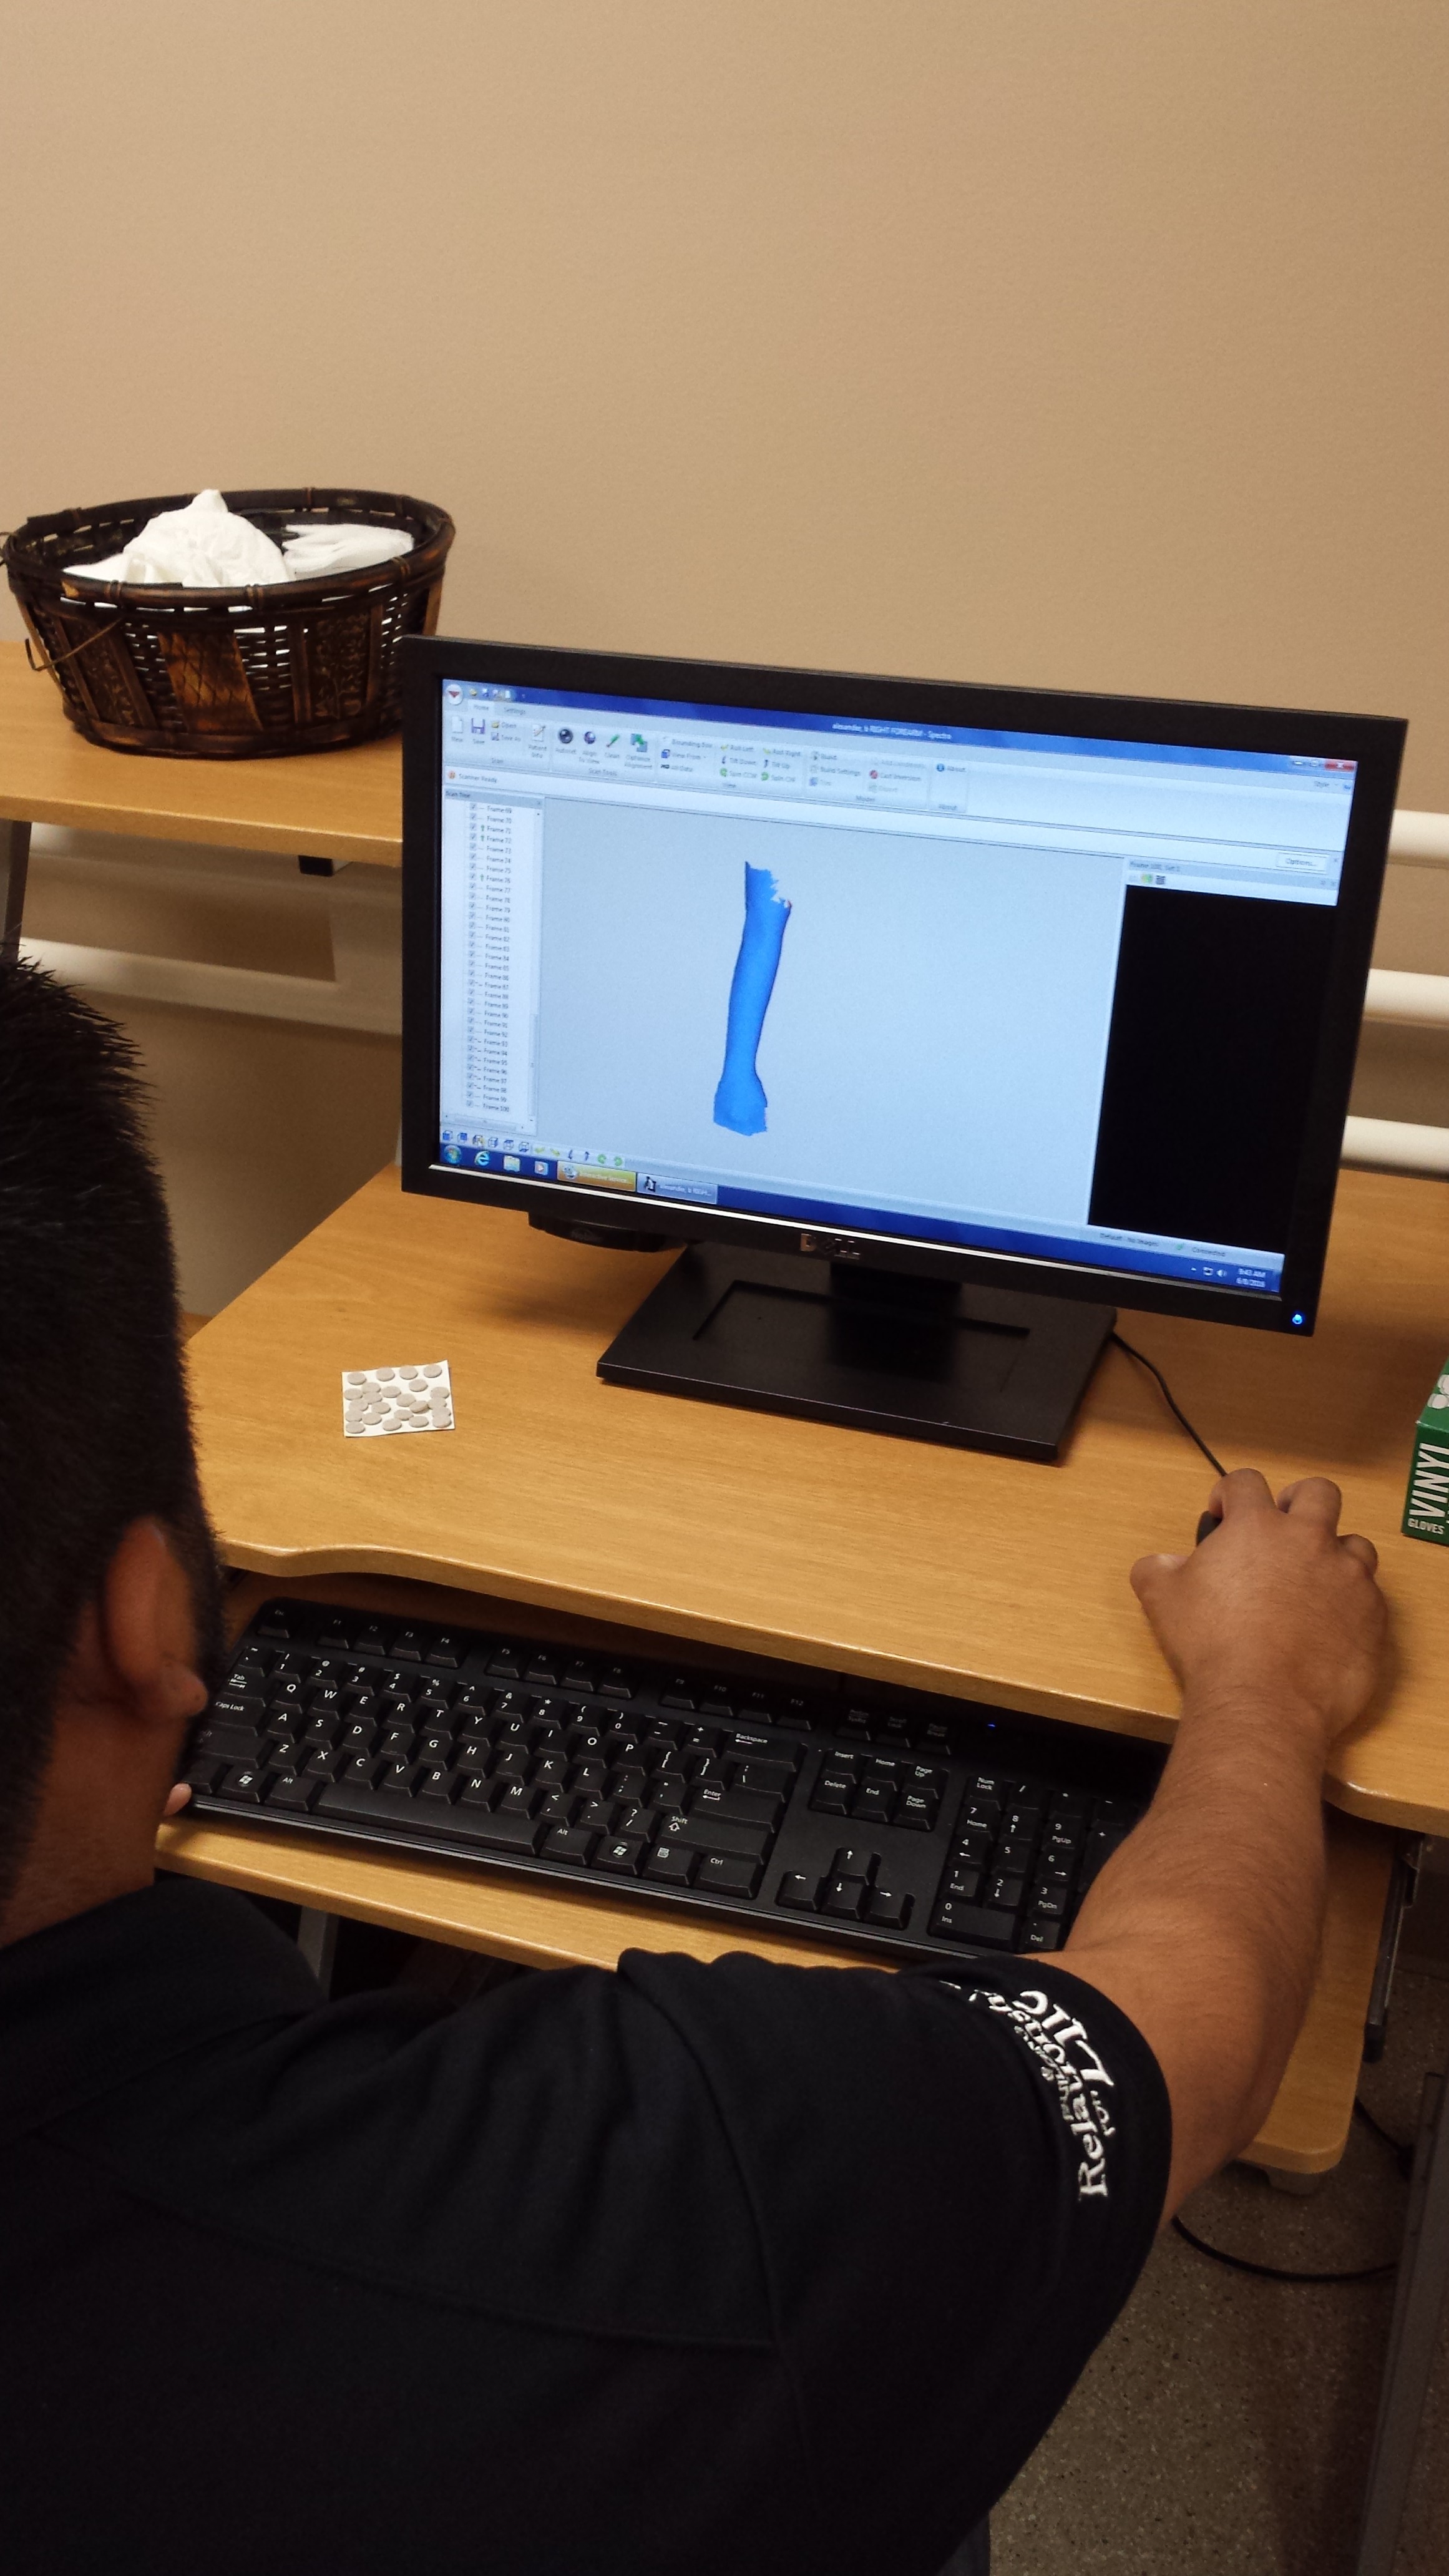
- The 3D image on the computer was hooked up to a foam carver which painstakingly, round by round, carved the left lower arm from heavy foam. I watched the magic happen and it was amazing. It took about 20 minutes. This is the first time 3D technology has been used to design an arm for me.


- Adan and Caitlin held the foam lower arm below the test socket upper arm. They cut the foam lower arm to match the length of my right arm, being careful to keep it anatomically positioned (same part of left arm straight across from same part of right arm).
On 6/10/16, I returned to “the body shop” to continue the arm design. This visit was only two hours.
- Using the test socket for a model, Brad had the upper arm made when I arrived. It was very thin with no outer lamination yet.

- Adan checked the fit. I asked him to push out the under arm area a bit more. Thankfully it wasn’t too late to make this final adjustment. He used a heat gun (rather than a propane torch) to make the area flexible enough to reshape slightly.
- They attached the upper arm to the harness.
- They worked some more on length and positioning of the foam lower arm and then taped it to the upper arm.
- They worked on the positioning of the wrist unit and taped it to the lower arm.
- They attached the hand to the wrist.
- Once all the parts were connected, they worked to get the left prosthetic arm anatomically matched to the right real arm when hanging to my side and when bent at the elbow.

- My prosthetic elbow will not rotate left to right once the arm is finished so I had to decide the exact position I want it in. Another stressful decision on my part!
- Before my next appointment they will do with the foam lower arm what they did with my real upper arm—a plaster cast and then a plaster mold. Over the mold they will build the lower arm from felt, carbon fiber, and nyglass (fiberglass). It will be super light-weight compared to what I have now.
Thanks for walking with me through this process. What are your thoughts about the design phase?
********************
“This is God’s generous truth; embrace it with both arms!” (1 Peter 5:12 MSG)
Read “New Arm- Part 1 (Picking Out Body Parts)” HERE.

Pingback: New Arm- Part 1 (Picking Out Body Parts) | One Smile, One Arm
Thank you for sharing and allowing others to join you in this process, and it is quite a process! I know the time put in and the stress of making difficult decisions will be worth it! Love your joyful spirit, Becky!
LikeLike
Thanks for always encouraging me, Lisa!
LikeLike
Pingback: New Arm- Part 3 (Building the Arm) | One Smile, One Arm
Pingback: New Arm- Part 4 (Pausing to Get It Right) | One Smile, One Arm
Pingback: New Arm- Part 5 (Officially Finished) | One Smile, One Arm